Creative Cross Stitch Wall Hanging: Countryside Windmill

Uncategorized
Wishlist Share
Share Course
Page Link
Share On Social Media

About Course

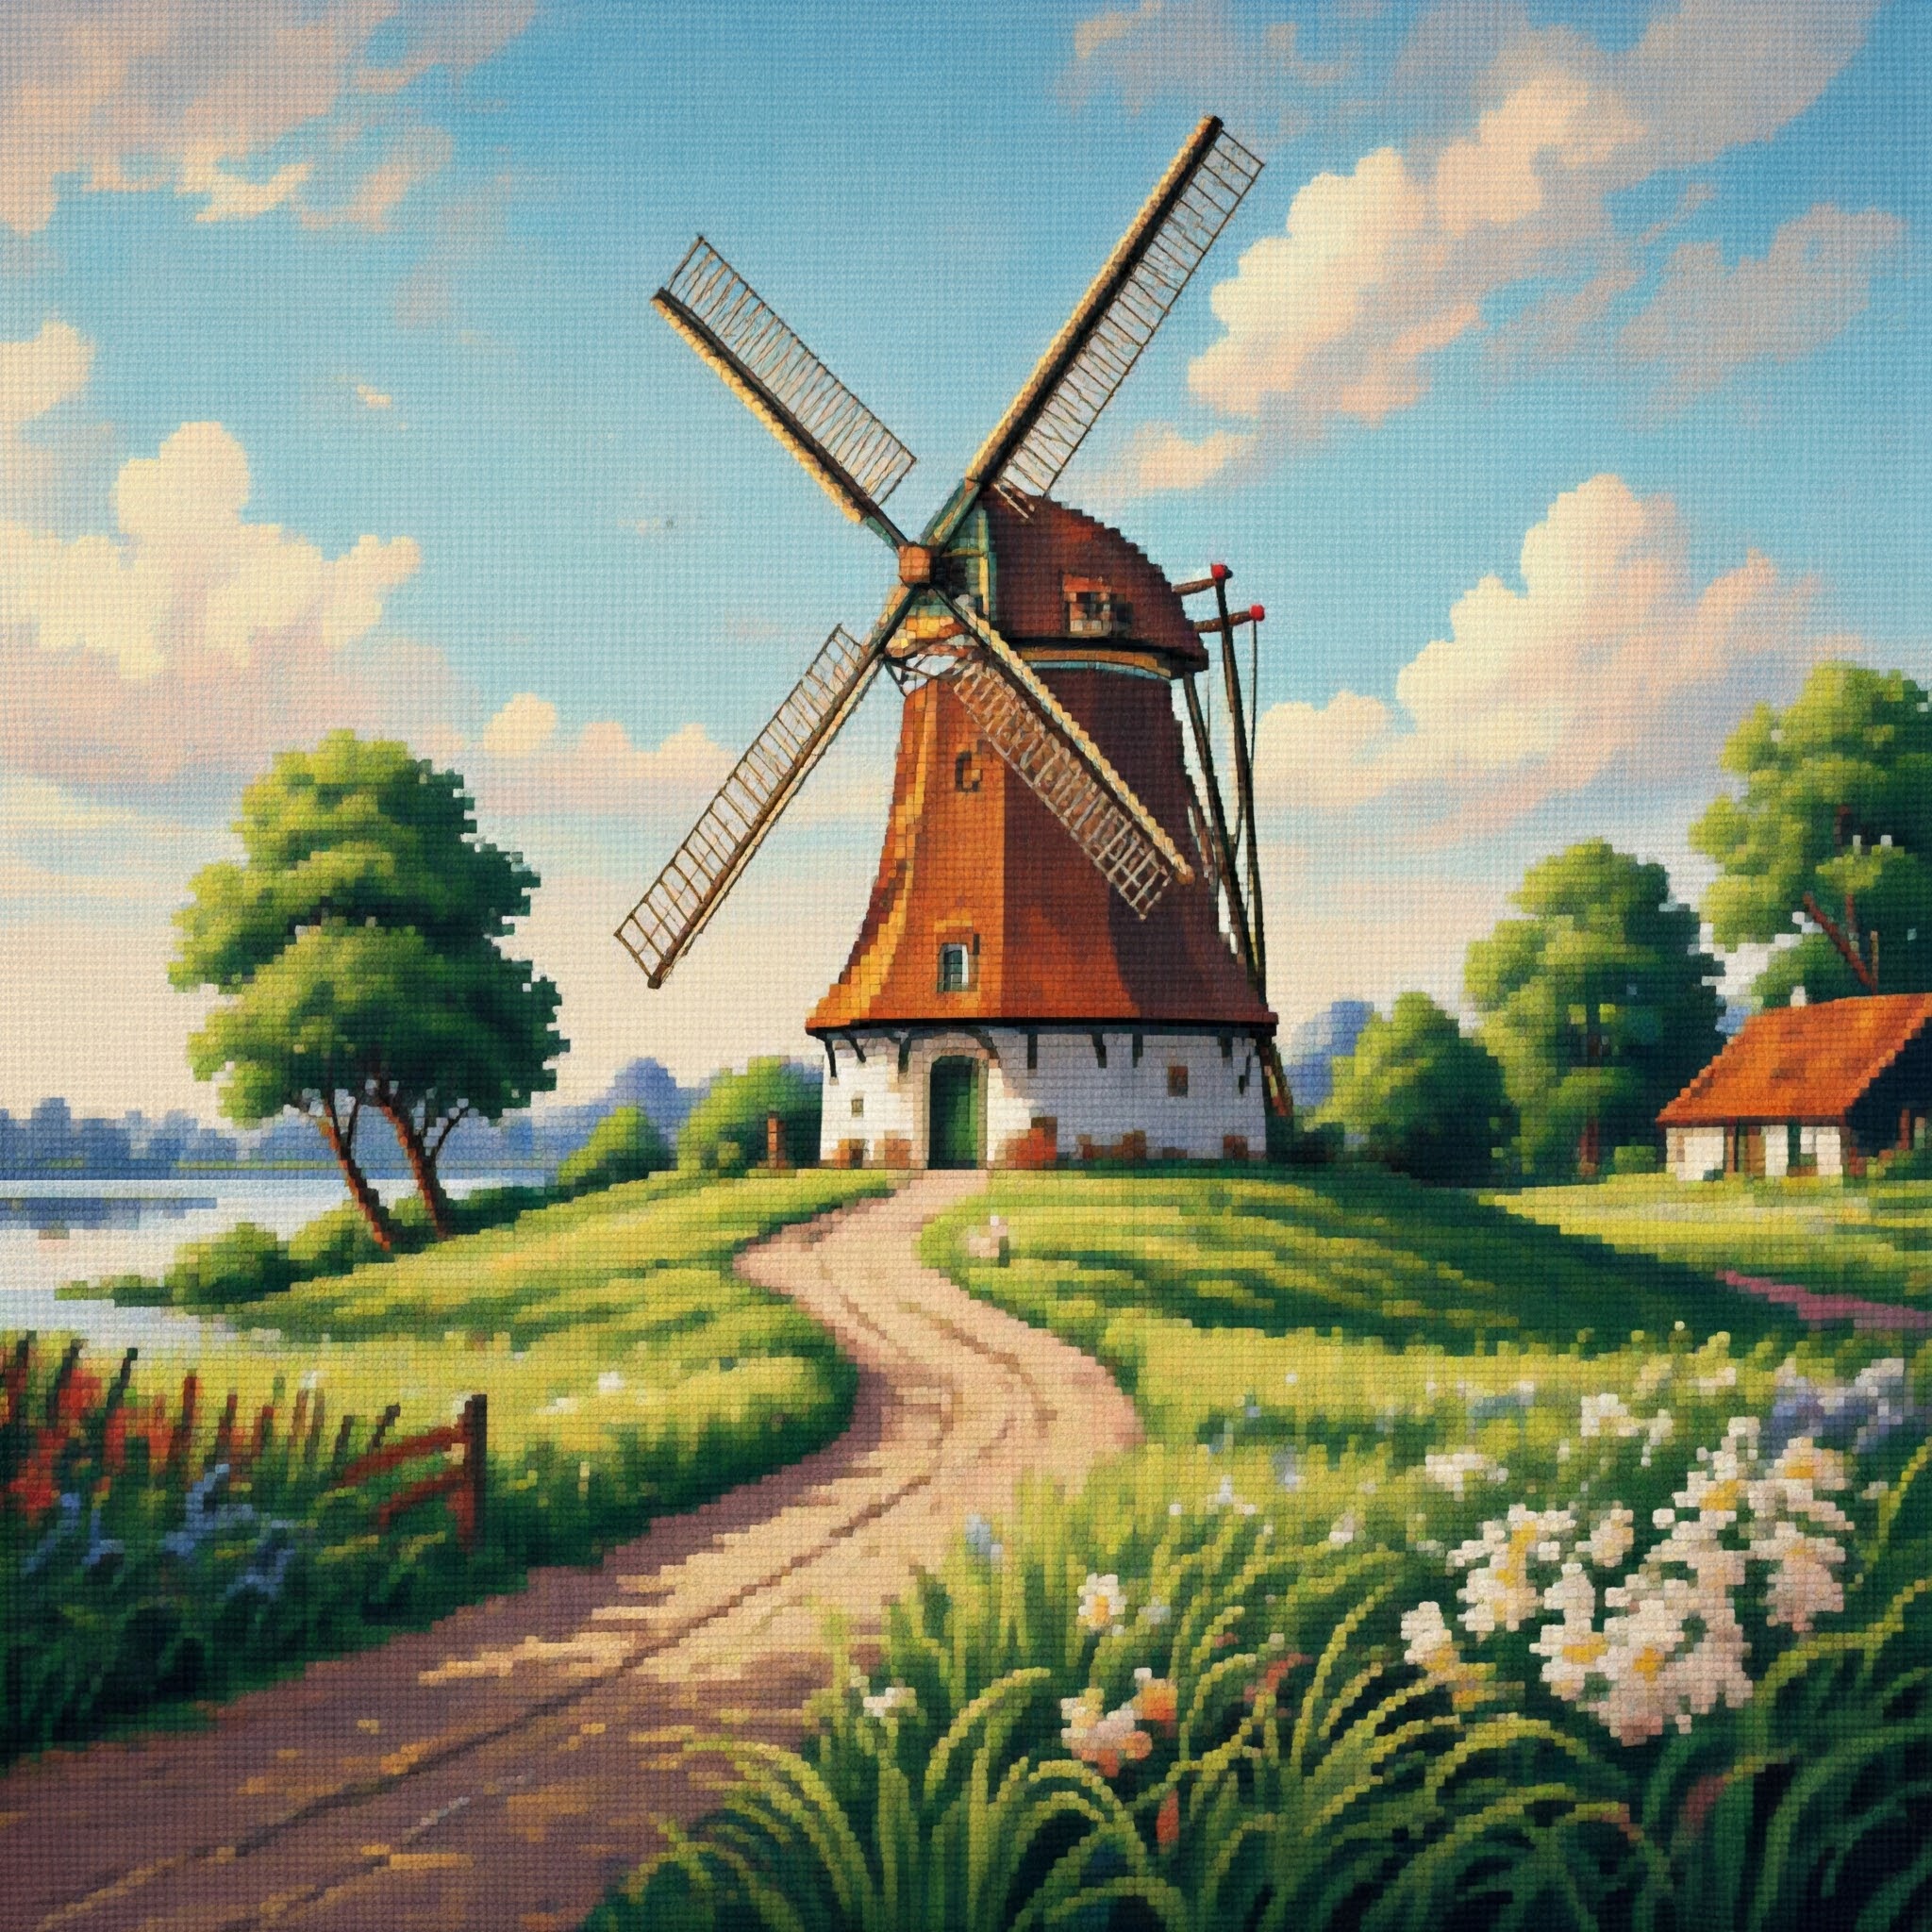
Bring a touch of serene countryside charm into your space with this delightful cross-stitch project! In this course, you’ll learn how to craft a stunning wall hanging featuring a picturesque windmill surrounded by lush meadows. Perfect for beginners and seasoned crafters alike, this tutorial will guide you step-by-step through the techniques of cross-stitching, helping you unwind while creating a masterpiece.

This course includes all the materials and tools you need—premium embroidery floss, a high-quality fabric canvas, an easy-to-follow pattern, and even a display hoop for framing your artwork. Whether you’re looking to de-stress or add a personalized touch to your décor, this project is the perfect escape into creativity.

Show More

What Will You Learn?

  • Master Basic Cross-Stitch Techniques: Understand the essential stitches, how to read patterns, and how to work with Aida cloth and embroidery floss.
  • Design Preparation: Learn how to set up your embroidery hoop, prepare your materials, and organize your workspace for a smooth crafting experience.
  • Color Coordination and Thread Management: Discover tips for selecting and blending colors to create a visually stunning piece while efficiently managing your threads.
  • Crafting the Windmill Scene: Follow detailed step-by-step guidance to stitch the picturesque windmill, lush meadows, and charming background.
  • Finishing and Framing: Learn how to clean, press, and frame your finished cross-stitch piece to display it beautifully.
  • Relaxation and Creativity: Experience the therapeutic benefits of cross-stitching while expressing your creativity through a timeless craft.

Course Content

Preparation
Gather Your Materials: Collect all the necessary materials from the kit: Aida cloth, embroidery floss, needles, hoop, pattern, and scissors. Set Up Your Workspace: Find a well-lit area and organize your materials.

Transferring the Pattern:
Choose a Method: Decide on the method to transfer the pattern onto the Aida cloth. Options include: Water-soluble pen: Draw the design directly onto the fabric. Carbon paper: Trace the design onto the fabric using carbon paper. Lightbox: Use a lightbox to illuminate the pattern and fabric, making it easier to trace.

Stitching Techniques:
Half-Cross Stitch: This is the most common stitch used in cross-stitch. Bring the needle up from the back, insert it into the first hole of the square, and bring it back up through the diagonal hole. Insert the needle into the second hole of the square and bring it back up through the original hole. Backstitch: This stitch is used for outlining and adding details. Bring the needle up from the back, insert it into the desired starting point, and bring it back up a few stitches away. Insert the needle back into the starting point and bring it up through the fabric.

Finishing Touches:
Weaving in Ends: Once you've finished stitching, weave in the loose ends of the floss to create a clean finish. Washing and Ironing: Gently hand-wash your finished piece and iron it on a low setting, using a pressing cloth. Framing: Frame your completed cross-stitch to preserve it and display it proudly. By following these steps and referencing the provided pattern, you can create a beautiful cross-stitch piece.

Student Ratings & Reviews

No Review Yet
No Review Yet